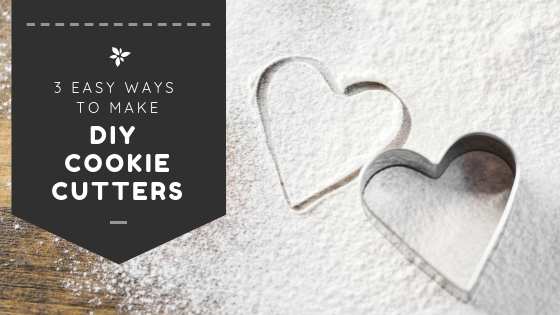
Have you ever wanted to know how to make cookie cutters? The process of making delicious and fun-shaped DIY cookie cutters is far easier than you’d expect. Learn from the cookie experts at Whisked how to make all sorts of shapes, so you can mold your cookies into whatever you want.
What You’ll Need for DIY Cookie Cutters
- Paper
- Marker
- Super glue
- Scissors
- Ruler
- Cutting gloves
- Aluminum: either foil, oven liners, or soda cans
This article will go over three different methods of making DIY cookie cutters. But, each way will only need one form of aluminum. We’ll mark which of the three we’re working with below!
Method One: Aluminum Foil
This first method of learning how to make cookie cutters is by far the easiest. There are no excessive amounts of cutting, and the foil doesn’t have sharp edges compared to the other two. The only part you’ll need to supervise if working with little ones is the gluing.
- Start by tearing off a sheet of aluminum foil. You can use any foil around the house, but heavy-duty will help you to retain the shape. Make it about a foot long.
- Next, take the sheet and lay it out on a flat surface. You’ll want the longest side to be horizontal.
- On one of the longer sides, fold the foil up a half inch. Continue to wrap the foil over itself until you have a long strip.
- Form the strip into the shape you desire by creasing the metal in different directions.
- Once the desired shape is formed, use the super glue to keep the aluminum together. Allow drying before use.
Method Two: Aluminum Oven Liner
The raw edges of the aluminum liner can be sharp! Consider wearing gloves while you work with the material. However, we always find that DIY cookie cutters made from oven liners are the sturdiest and the best at cutting through any thicker doughs.
- Put on your protective gloves.
- Trim around the edges of the oven liner.
- Markdown the horizontal edge every four inches. Cut the pieces.
- Next, fold each strip in half. Keep it in reference to a straight edge of your surface to stay precise.
- Unfold your strips, and focus on one at time. Fold each sharp edge in half again to meet the middle of the liner. All sharp sides of the strip need to face the inside.
- Press down on the fold to straighten and flatten your edges.
- Bend into the desired shape, glue, and dry.
Method Three: Soda Can
This item might be the most common in your household, depending on your carbonated beverage addictions. The biggest limitations for this cutter are the amount of materials. It ends up making smaller cookies, but it is the fastest method if you don’t mind the size.
- Enjoy a soda.
- Once the can is emptied and cleaned, cut off the top and bottom using scissors.
- Cut the aluminum tube down the side so you can unroll it and have a flat surface.
- Find and mark the halfway point of the can from the cut edge. Make a line that goes down the center and cut.
- Lay a ruler along one of the halves giving about one-eighth inch room on the bottom.
- Bend the edge up, then repeat on the other side.
- Make into desired shape and glue. Allow time to dry.
DIY Cookie Cutter Shapes
Some of us are a little more artistic and creative than others but have no fear. Creating simple shapes is easy by printing out templates or outlining and tracing objects. All you need is some paper, a pen, and a little patience. Here are a few of our favorites.
- Mickey Mouse:
- Use a dry ingredient 1 cup measuring cup and flip it upside down. Trace around the edges of the circular portion.
- Use round teaspoons to trace the ears partially on the circle about an inch apart.
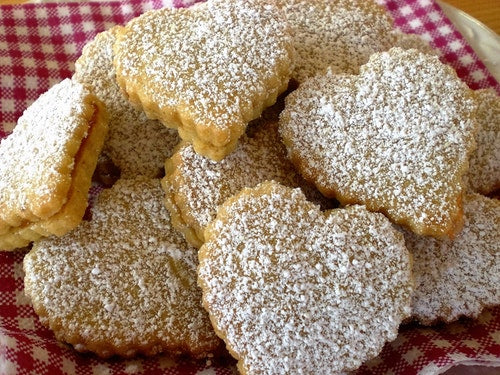
- Heart:
- Love is in the air! Use a cup to trace two identical circles with their edges touching each other.
- Connect the bottom of the circles with an isosceles triangle. The outline of the shapes will be your heart!
- Football:
- These shapes are perfect for the Superbowl or tailgating party.
- Make two points on your page about the desired size of your DIY cookie cutter.
- Connect the dots to make a straight line. Draw an oblong circle that connects the two sides.
There you have it! Once you have your template, you can wrap your aluminum foil methods around the shapes to make your DIY cookie cutters! When you need a specific shape, but don’t have time to go hunting at the store, these are the perfect fix. They’re quick, easy, and are sure to be a hit!
If you're not in the mood to do the heavy lifting of baking yourself, Whisked! can help you out. Order cookies online and enjoy some delicious desserts.
About the author, Jenna Huntsberger
Originally from Eugene, Oregon, Jenna moved to DC in 2005 to work in nonprofit communications. After deciding her real passion was pastry, she founded Whisked! in 2011, selling baked goods at a local farmer's market. Today, Whisked! cookies and pies are carried in more than 100 retail locations, and have been featured in publications like the Washington Post, Washington City Paper, and NPR.